Sometimes it is preferable to create a new curriculum for a class. For example, a Year 9 class may not benefit from the more advanced lessons available in the Year 9 course, and may require revision of concepts from year 8, and so a new curriculum can be created with lessons aimed specifically at this particular group of students.
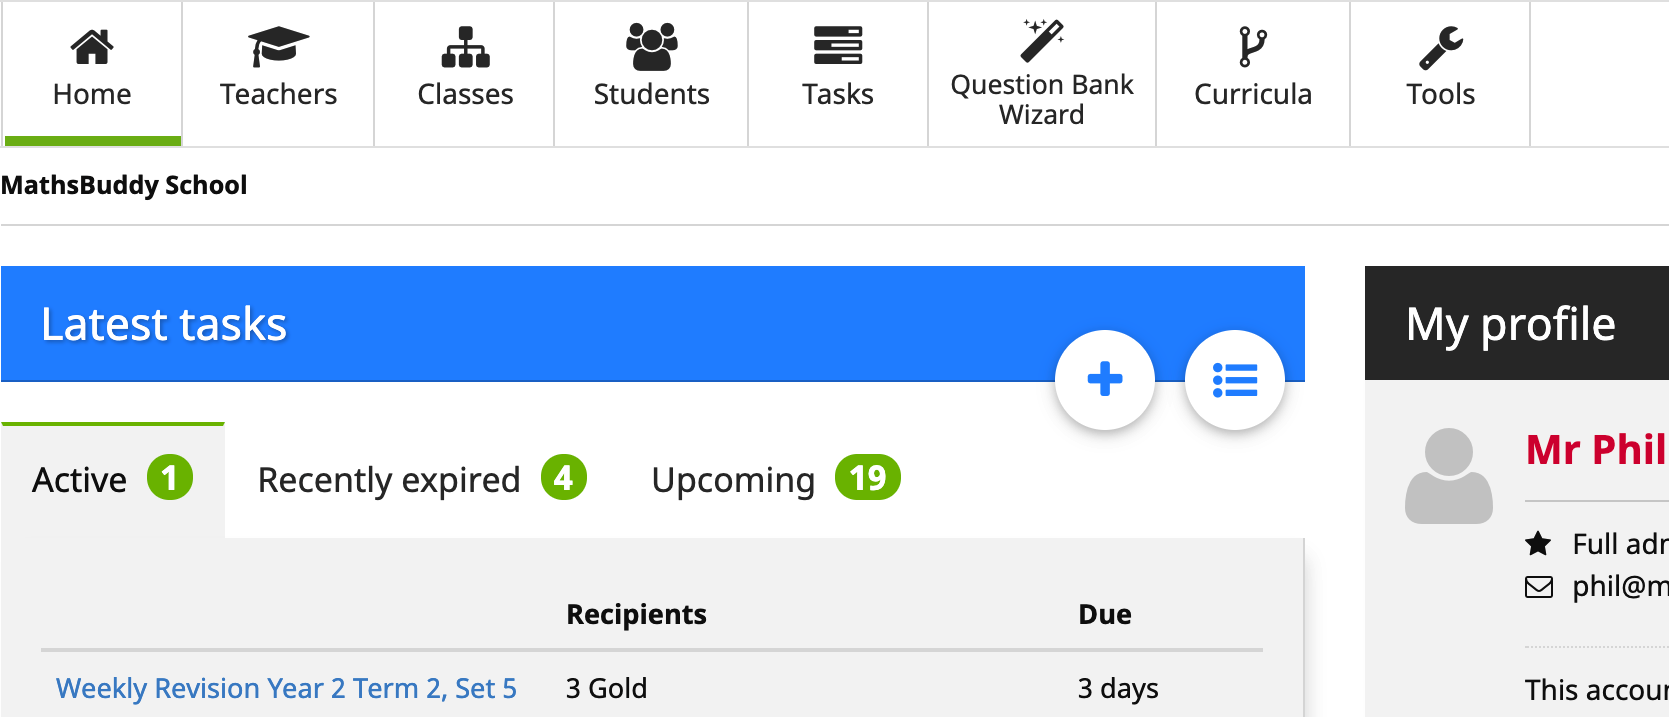
To make a new curriculum, select ‘Curricula’ from the Teacher Admin home page.

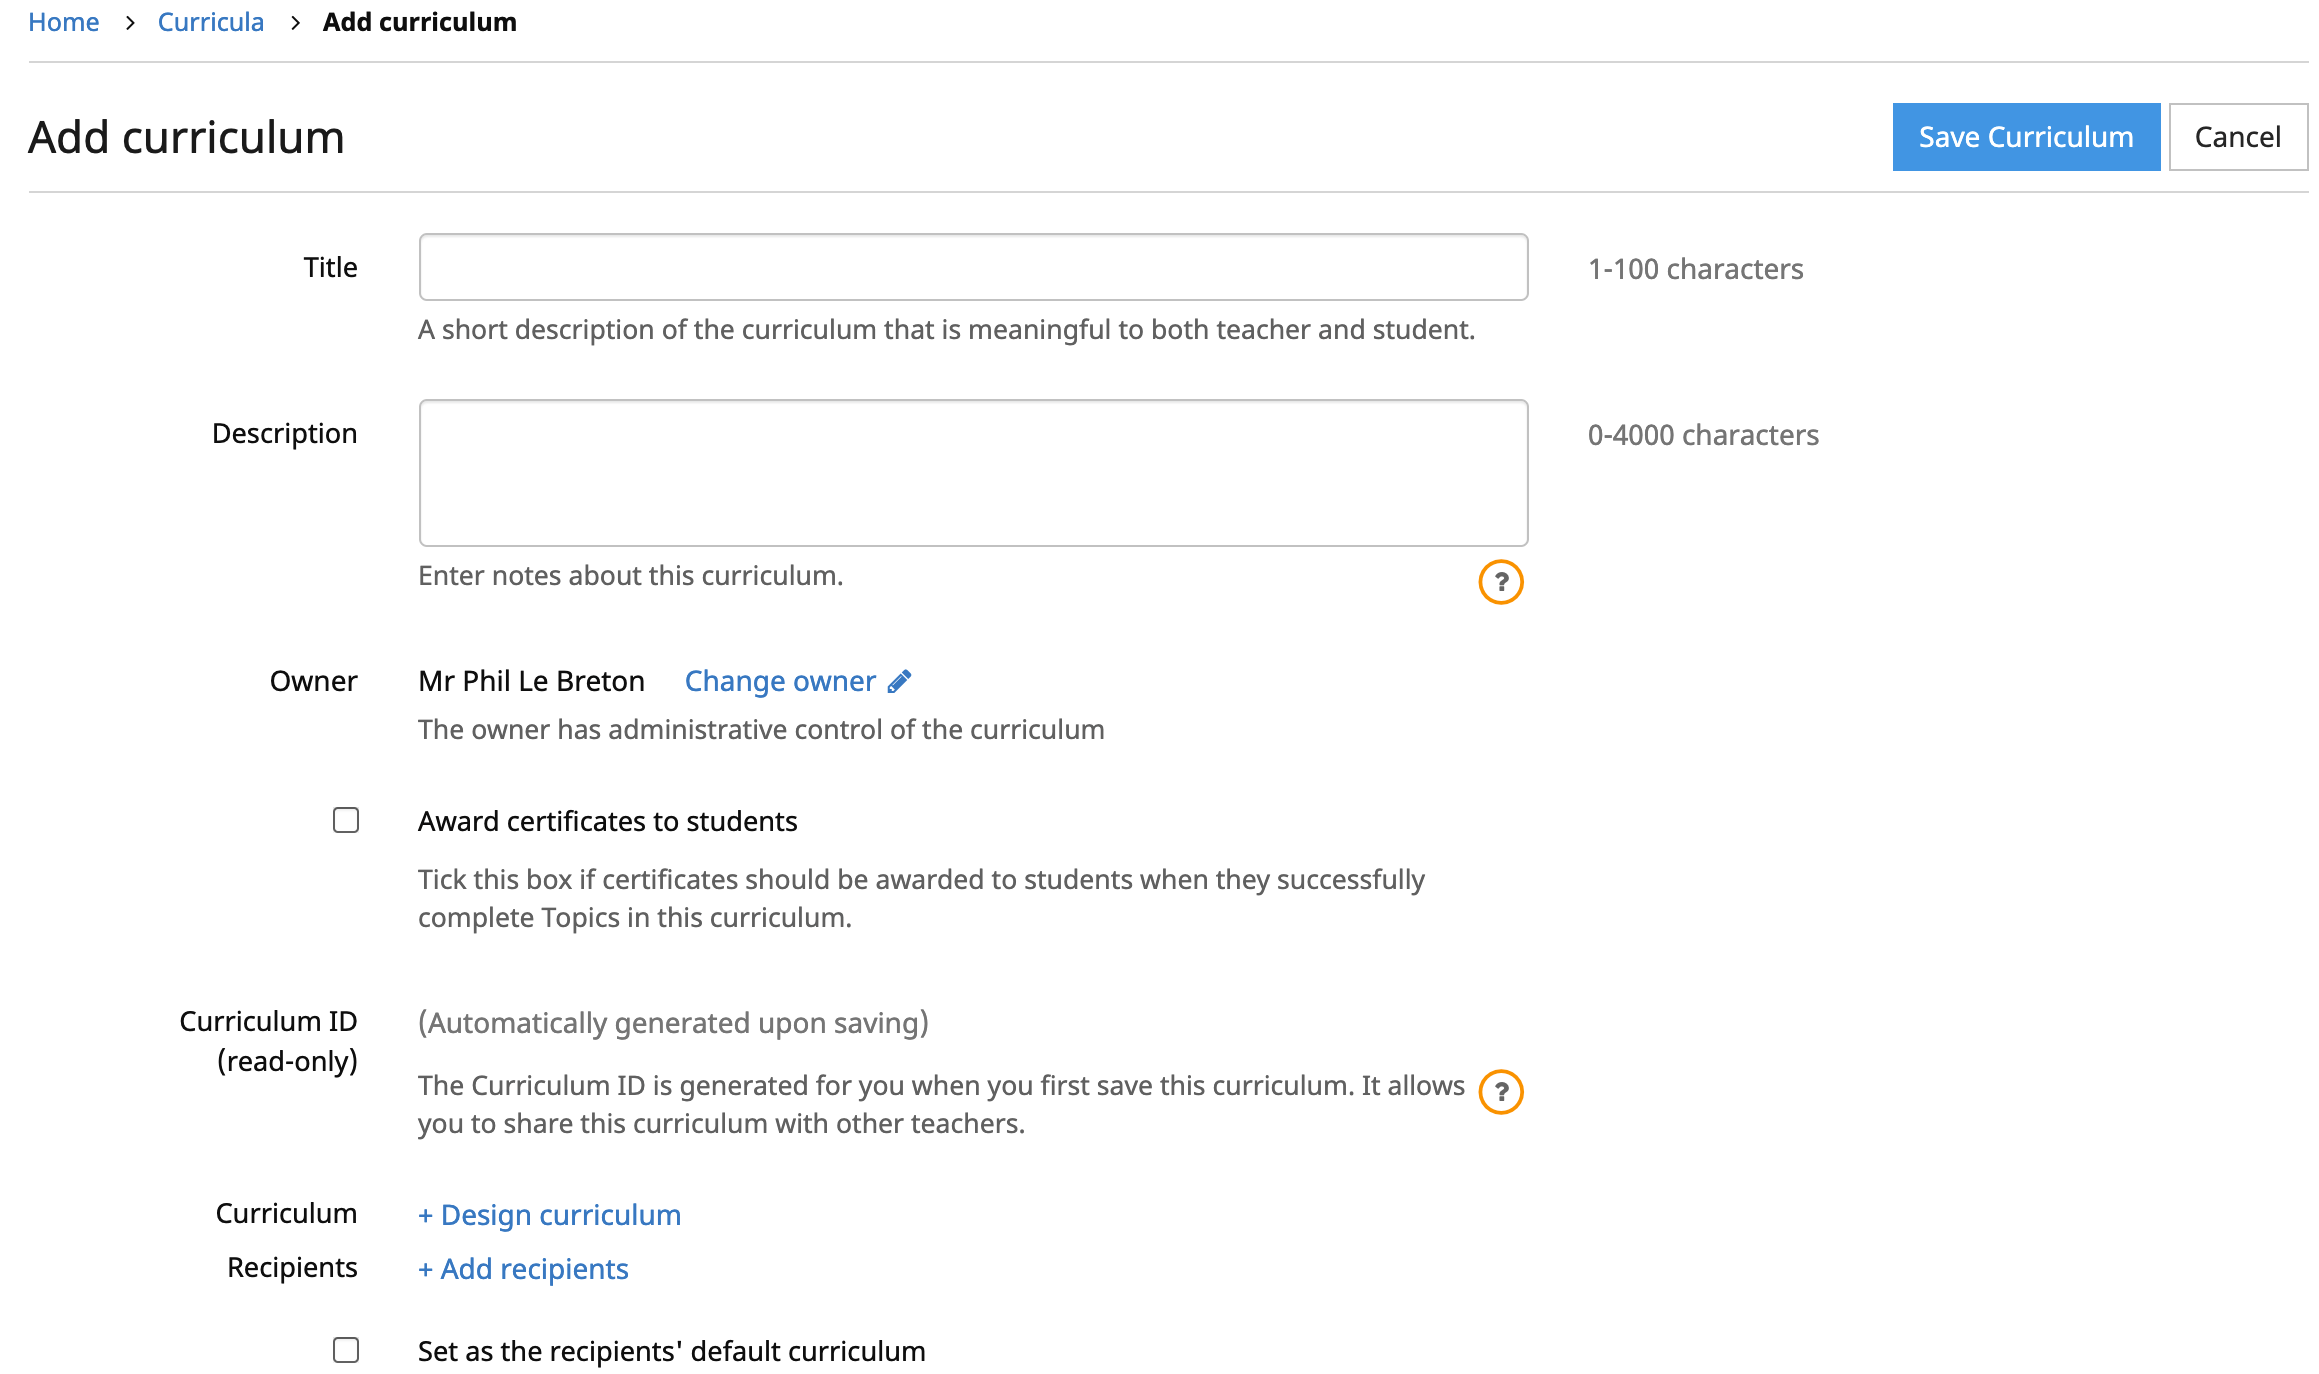
Select the option ‘Add Curriculum’.

The Curriculum Designer screen opens. The curriculum should then be titled and a description of the purpose or contents of the curriculum given. In this case we title the curriculum 'Year 9 Custom Curriculum'.
To begin designing the curriculum, select ‘+ Design Curriculum’. The steps involved in creating and structuring a curriculum are explained in the next step in the user guide, Designing the curriculum .

Note: Setting or changing the owner is only available to full administrators.
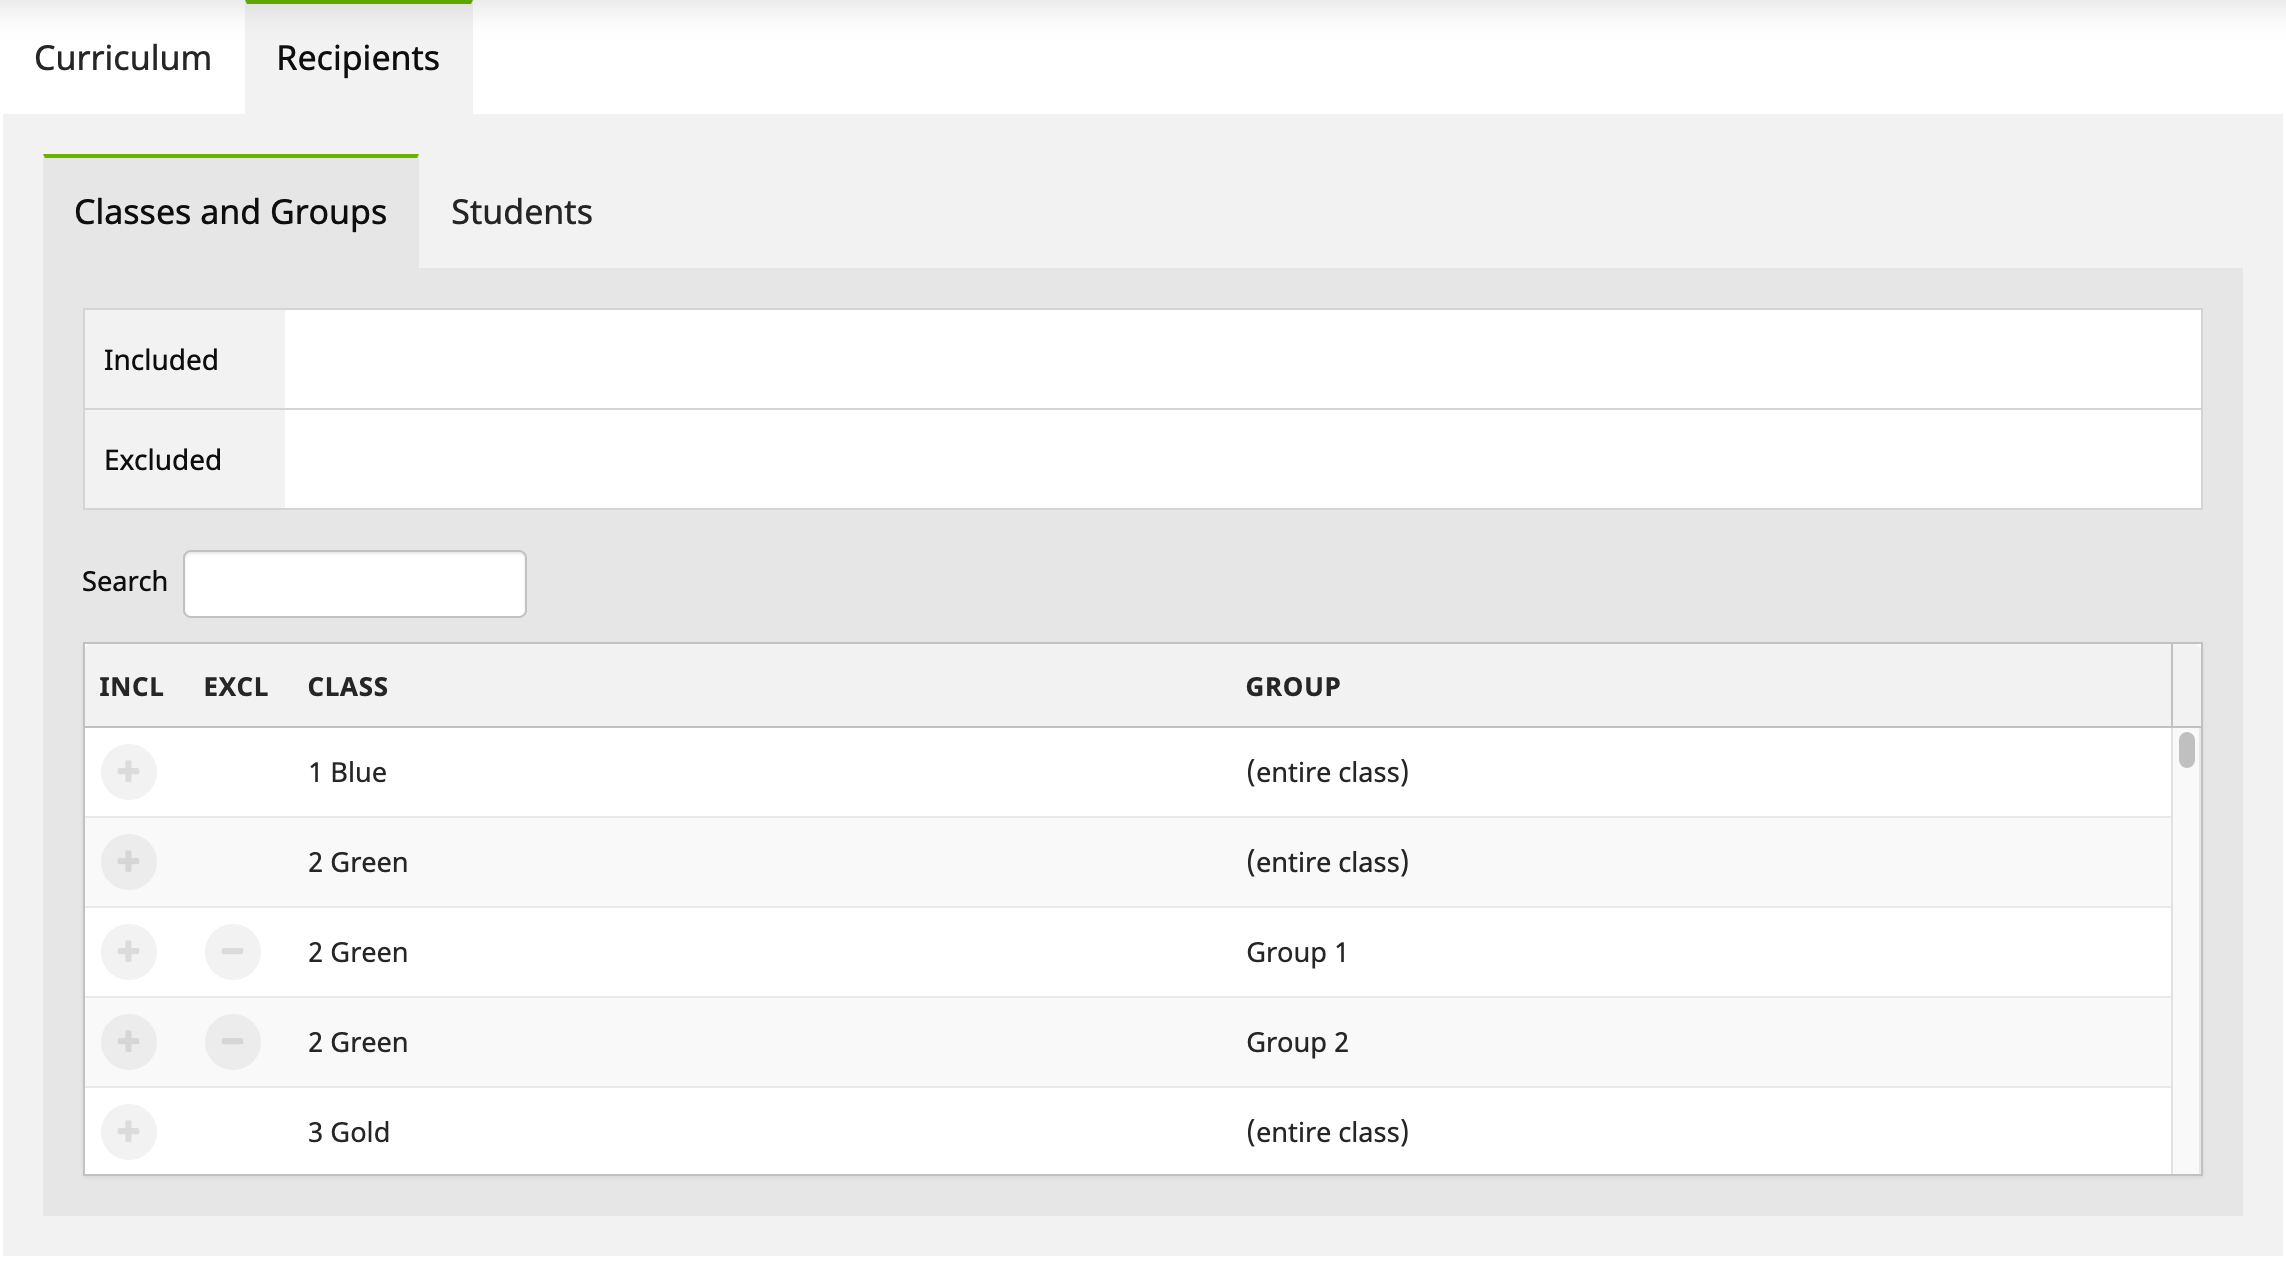
Once the curriculum has been designed, it's now time to define the classes or individuals that will receive the curriculum. Select '+ Add recipients' and the following pop-up will appear:

To add students to receive the new curriculum, select ‘Add’ next to the class or student name. if a class or student is added in error, select the ‘X’ next to the student or class name in the blue box at the top of the pop-up window.
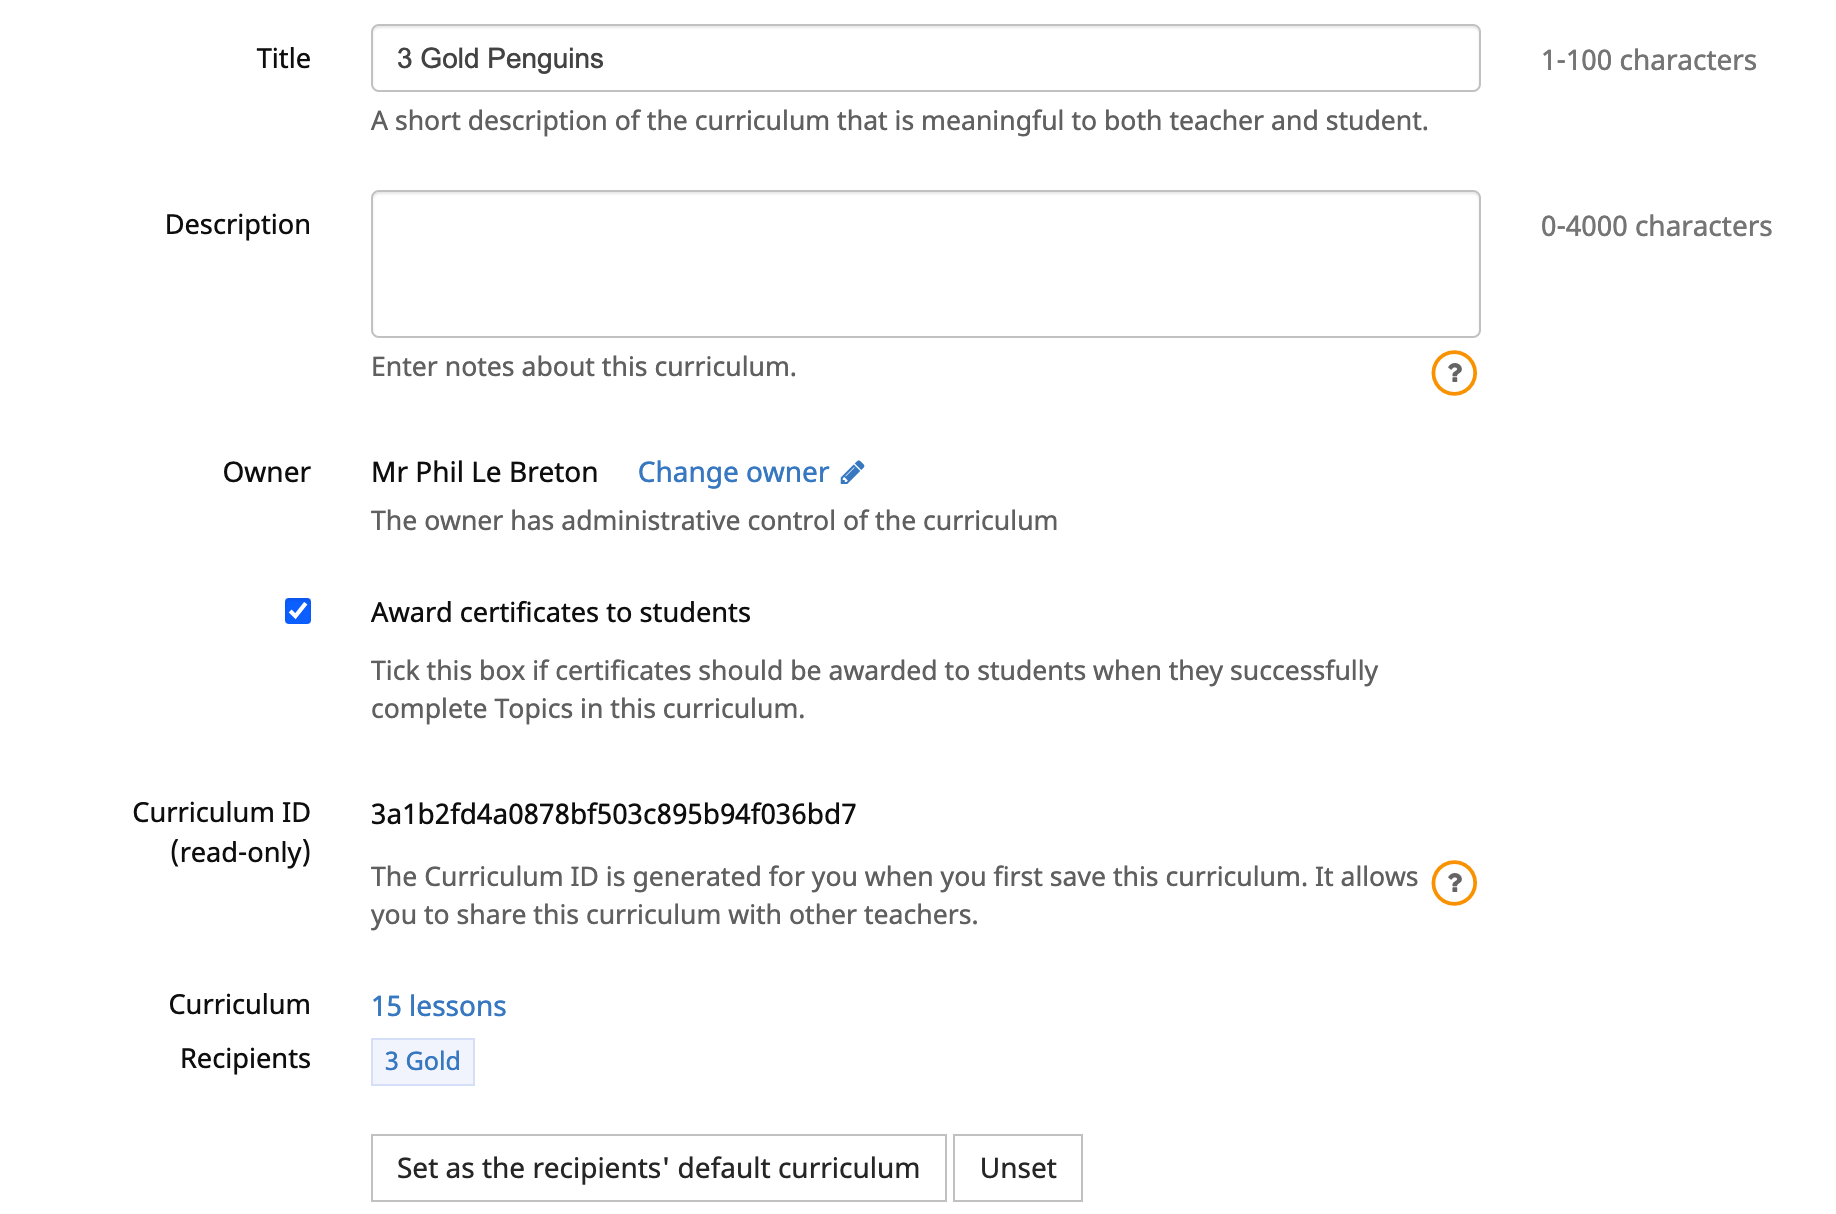
If the curriculum is to be the students' new default curriculum, select ‘Set as the Recipients’ Default Curriculum’. When the students next log in this curriculum will be displayed. Click 'Unset' to remove as the students' default curriculum.
Finally, choose whether to check the option ‘Award certificates to students’. Checking this option will award certificates upon the successful completion of each topic in the curriculum.

Select ‘Save Curriculum’ when finished. A confirmation message will appear to show the curriculum has been saved successfully.